Have you seen the bias tape tutorials where you have to cut out long strips of fabric and sew them together piece by piece? Doesn't that sound tedious? This method is WAY easier and takes much less patience! =)

Materials: I used 5/8 yard of fabric to bind my 40"x48" baby quilt
Time: One evening (or one long nap)
Lay out your fabric and fold it into a parallelogram, finger press the folds.

It's very important that you remember which way is "up" on the fabric. You don't want to accidently sew the wrong sides together, and end up with a binding on the straight instead of on the bias. Before you cut the fabric, you may want to draw little arrows on the back of all three sections (the two triangles and the parallelogram), so you don't get confused later.

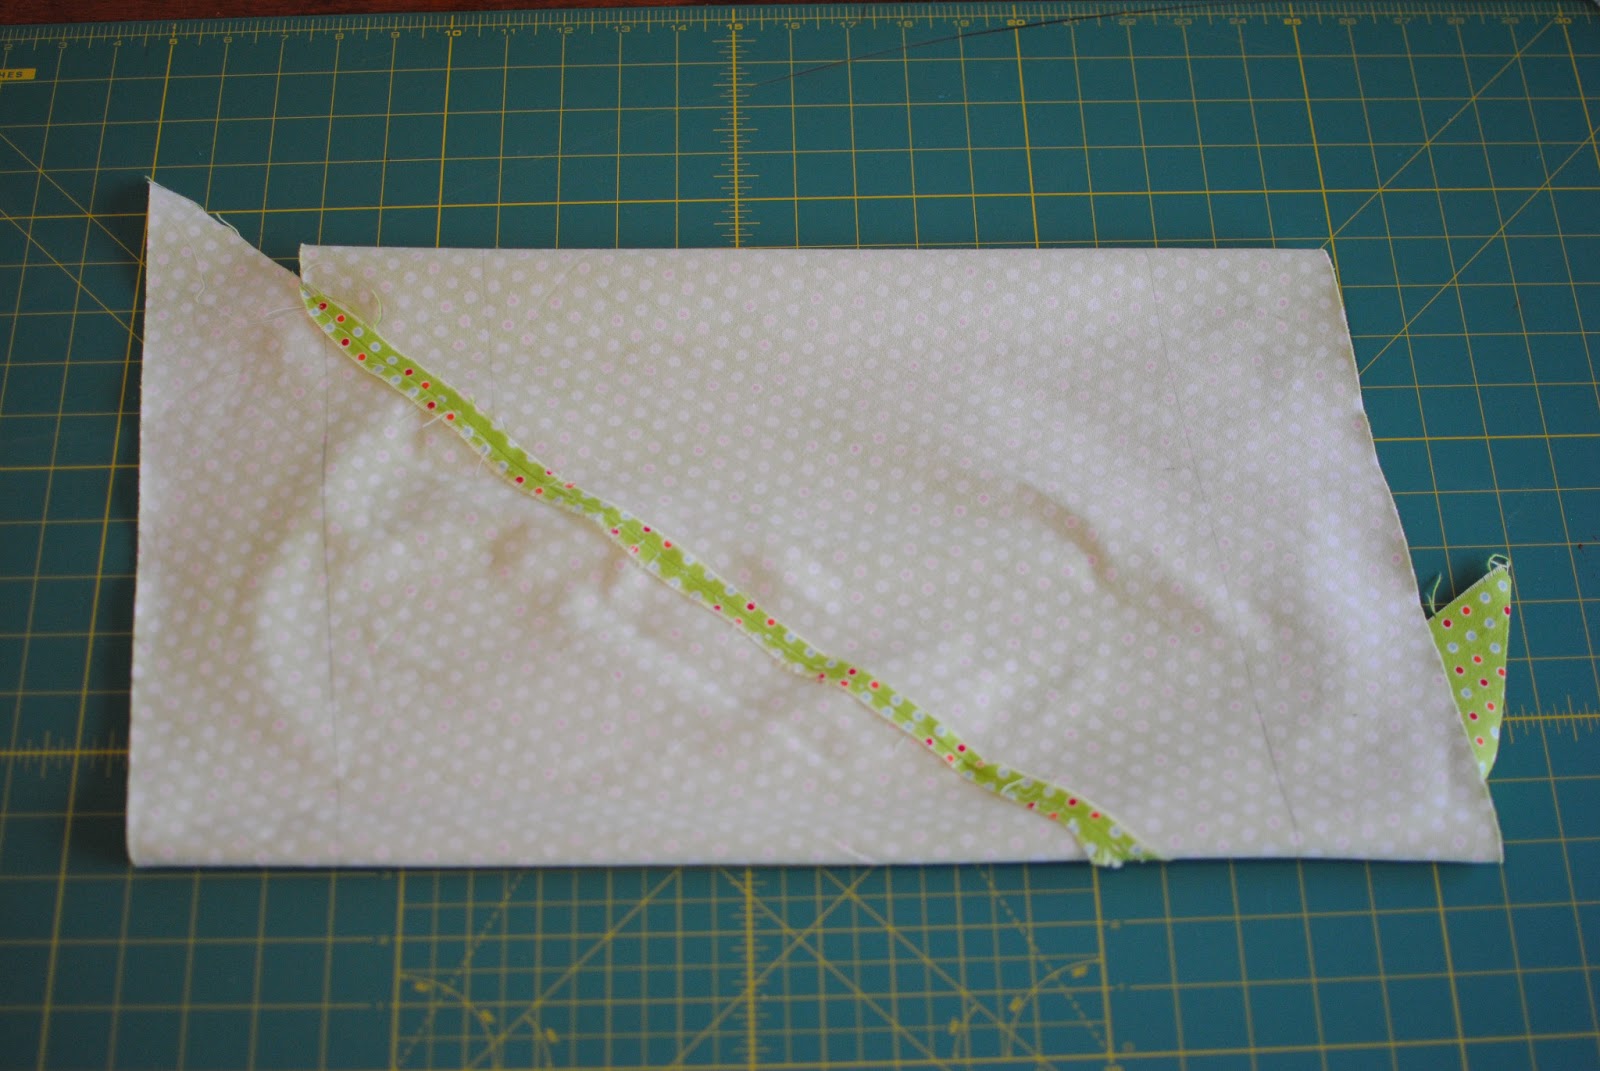
Trim off the two triangles along the crease. Save these pieces!***

Or, if you know you will need all the fabric for the binding (like I did for the baby quilt), simply cut off one triangle, and sew it onto the other side, to form a larger parallelogram.


With a pencil, draw a line on both sides of your parallelogram that is the total desired width of your bias binding. I did 3" for mine, so I would end up with a 1.25" binding (3" folded in half = 1.5", 1.5"- 0.25" seam allowance = 1.25" binding).

Now with right sides together, line up the bottom pencil line with the top corner, and pin together. Notice that is does not lie flat when pinned.


Sew together with a 1/4" seam allowance.

Press seam open. You should now have a tube.
With a straight edge and rotary cutter cut your 3" binding slowly making your way around the tube.

It probably won't turn out even, so don't worry if the end looks like this:

Now you have a whole pile of biased binding! So simple.

And so cute! =)

***If you end up needing more binding, simple sew the two triangles together to form another parallelogram, and repeat the process! Make sure the arrows you drew on the triangles are both pointed up!


No comments:
Post a Comment